Table of Contents:
1. Planning and Design
- Site Evaluation
- Design
- Building Permits
2. Site Preparation
- Clearing
- Leveling
3. Solid Foundation with Helical Piles
- Marking
- Installing Helical Piles
4. Frame and Structure
- Installing Beams
- Building the Frame
5. Deck Flooring
- Laying Deck Boards
- Spacing
6. Railings and Stairs
- Installing Railings
- Building Stairs
7. Finishing
- Sanding and Staining
- Installing Accessories
8. Final Inspection
- Checking Stability
- Compliance with Standards
1. Planning and Designing the Wooden Deck
Site Evaluation
- Choosing the ideal location for your deck requires careful site evaluation.
- Consider the terrain's topography, sunlight throughout the day, and available views.
- It's crucial to think about access to water and electricity, especially if you plan to install lighting or an outdoor kitchen.
- The deck's proximity to the house is also a determining factor as it influences accessibility and integration with the overall property.
- Don’t forget to consider practical aspects such as rainwater management and shading.
Design
Once the location is determined, move on to the deck design.
- You may need to hire a landscape designer or architect for these steps.
- Draw a detailed plan that includes precise dimensions, style, and materials you intend to use.
- Think about different functional areas such as relaxation, dining, and circulation spaces.
- Using design software can help you visualize the final project and adjust elements according to your needs and preferences.
- Include aesthetic elements like planters, pergolas, or paved paths to enhance the deck’s visual appeal.
Building Permits
Before starting any work, it is essential to check local regulations and obtain the necessary permits.
- Contact your municipality to understand zoning restrictions, construction requirements, and permit application procedures.
- Make sure to prepare all necessary documents, such as construction plans and material descriptions.
Failure to comply with local regulations can result in fines or demolition orders, so take this step seriously.
2. Preparing the Site for Deck Construction
Clearing
Site preparation starts with thorough clearing.
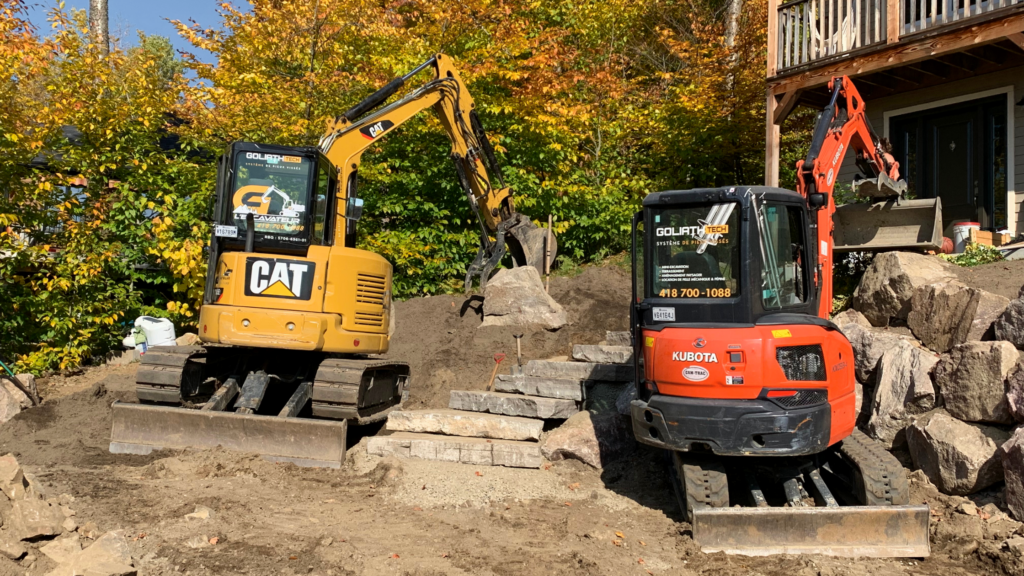
- Remove all debris, plants, roots, and rocks from the construction area.
- Use tools like shovels, rakes, and chainsaws to completely clear the surface.
If necessary, hire a professional service to remove large rocks or existing structures. A clean and clear site greatly facilitates the subsequent construction steps.
Leveling
Once the site is cleared, it's time to level the ground.
- This involves adding or removing soil to create a flat and stable surface.
- Use a bubble level to regularly check the ground’s flatness.
- Compact the soil with a compactor to prevent future settlement, which is crucial for your deck's stability.
- If the terrain is sloped, consider creating terraces or using retaining walls to stabilize the area.
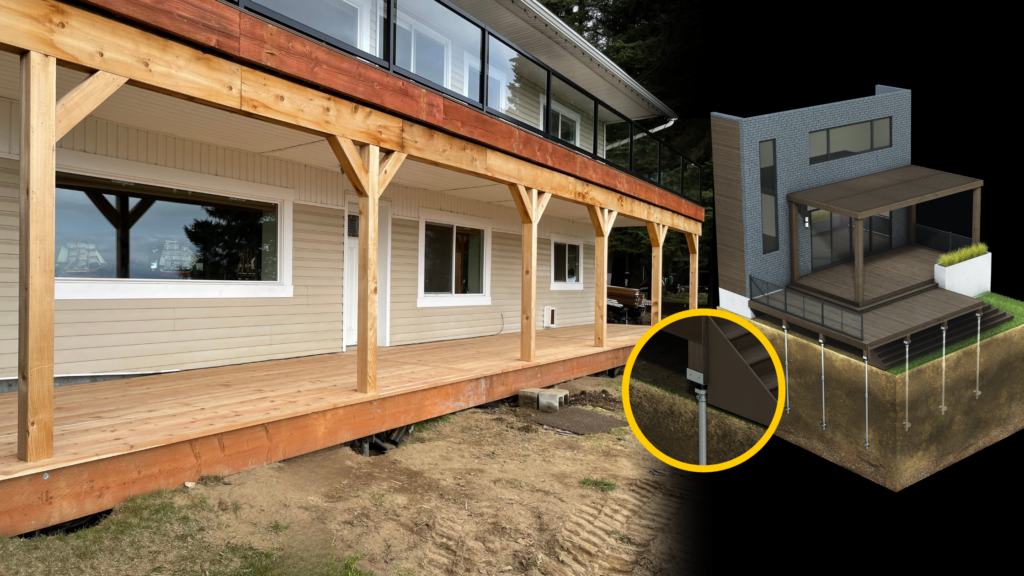
*If this proves too costly, opt for our helical pile foundation at GoliathTech, which will eliminate the need for leveling since the piles adjust to your terrain.
They extend with additional sections to reach the correct ground level, and the pile heads are adjustable for perfect leveling.
3. Helical (Screw) Pile Foundation: The Best Choice for Your Wooden Deck's Stability and Durability
Marking
- Marking the deck boundaries is an essential step to ensure precise construction.
- Use wooden or metal stakes and string to outline your deck’s perimeter.
Installing Helical Piles
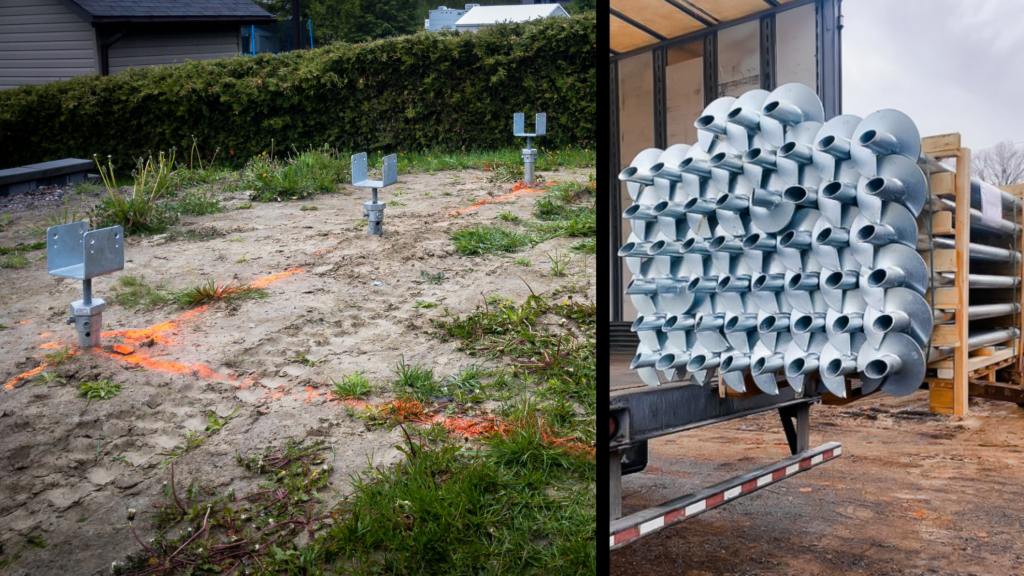
The installation of helical piles is a modern and efficient method for creating a solid foundation. Why choose a helical pile foundation for your deck instead of concrete foundations?
It's simple—no excavation is necessary. The foundation will be perfectly leveled and will not shift with ground movements each year, prolonging your deck’s life and preventing settlement. Discover all the differences between helical piles and concrete foundations.
These piles are screwed directly into the ground using specialized equipment, eliminating the need for excavation.
- A certified helical pile installation expert calculates the depth and resistance required based on your region’s geological characteristics.
- Piles should be installed at regular intervals to ensure even load distribution. Once in place, the piles provide a stable and durable base, ready to support your deck's weight.
4. Wooden Deck Frame and Structure
Installing Beams
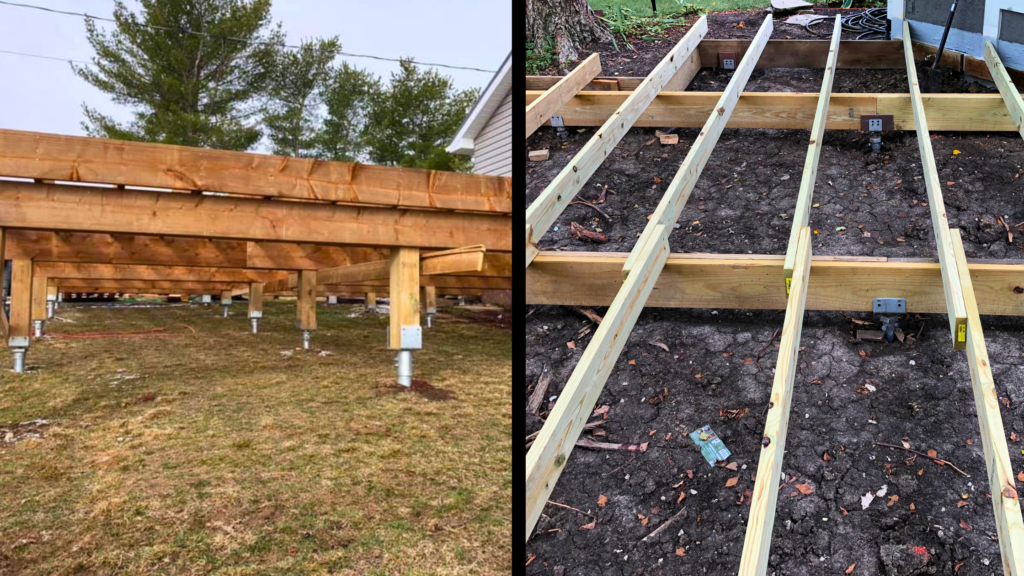
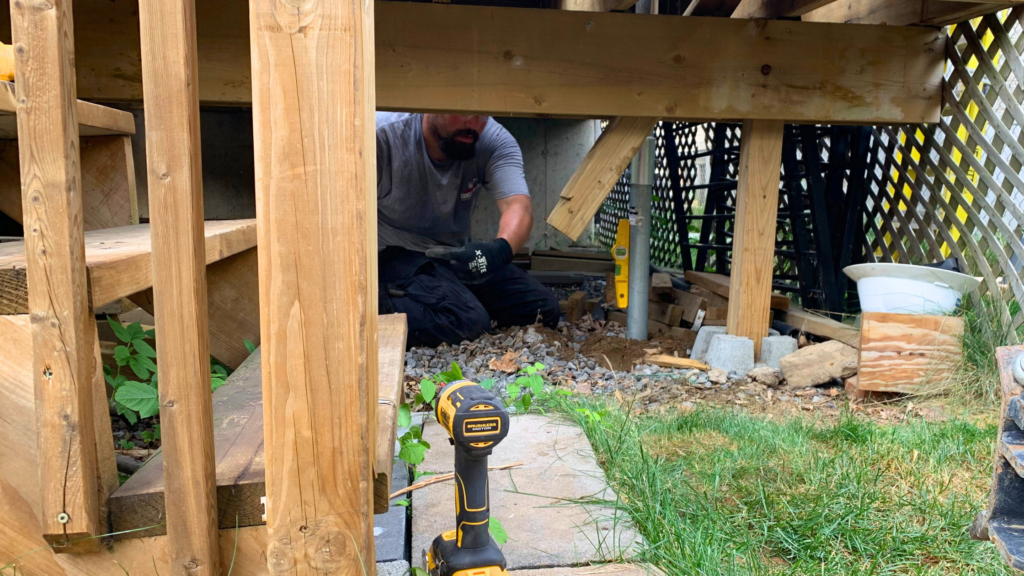
Once the piles are installed by our experts, it’s time to fix the support beams onto the helical piles.
The main beams must be strong enough to support the joists and deck boards.
Thanks to GoliathTech’s helical piles with adjustable heads, your contractor can regularly check the level and adjust the pile height accordingly, ensuring a uniform and stable structure.
Building the Frame
- With the beams in place, you can start constructing the deck frame.
- Attach the joists perpendicularly to the support beams using metal joist connectors.
- Ensure the joists are evenly spaced to distribute the weight evenly.
- Use a level to check that each joist is at the same height.
- Add spacers between the joists to reinforce the structure and prevent lateral movement.
5. Building the Wood Deck Floor
Laying Deck Boards
Installing deck boards is a key step to give your deck its final appearance.
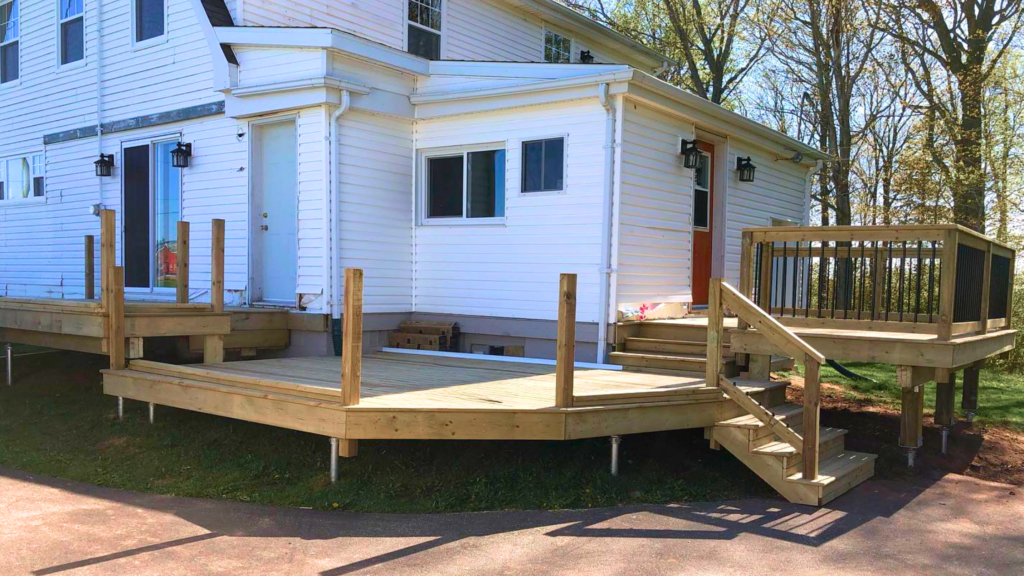
- Start by laying the first boards against the house or the starting structure.
- Fix them to the joists using screws or fasteners, leaving about 5mm spacing between each board for ventilation and expansion.
- Use a circular saw to cut the boards to the correct length. Continue laying the boards, regularly checking the alignment and spacing for a uniform result.
Spacing
Uniform spacing between the boards is crucial for the deck’s durability and aesthetics.
- Use spacing shims to ensure a constant gap between each board. This gap allows for proper ventilation and prevents water accumulation, extending the boards’ lifespan.
- Regularly check the alignment of the boards and adjust if necessary to maintain a professional and consistent look.
6. Railings and Stairs for Your Wooden Deck
Installing Railings
Railings are essential for your deck’s safety.
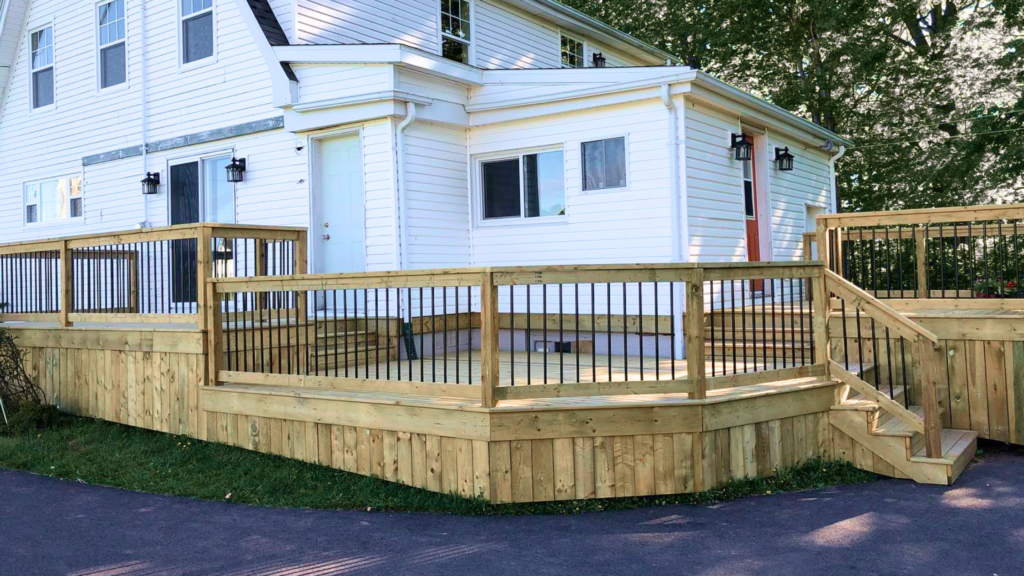
- Attach the railing posts at the corners and intermediate points of the structure using metal brackets.
- Use galvanized screws or bolts for a solid attachment.
- Fix the railings to the posts, ensuring everything is level and aligned.
- Choose materials that complement your deck’s style, whether wood, metal, or glass.
- Ensure the railings meet local safety standards.
Building Stairs
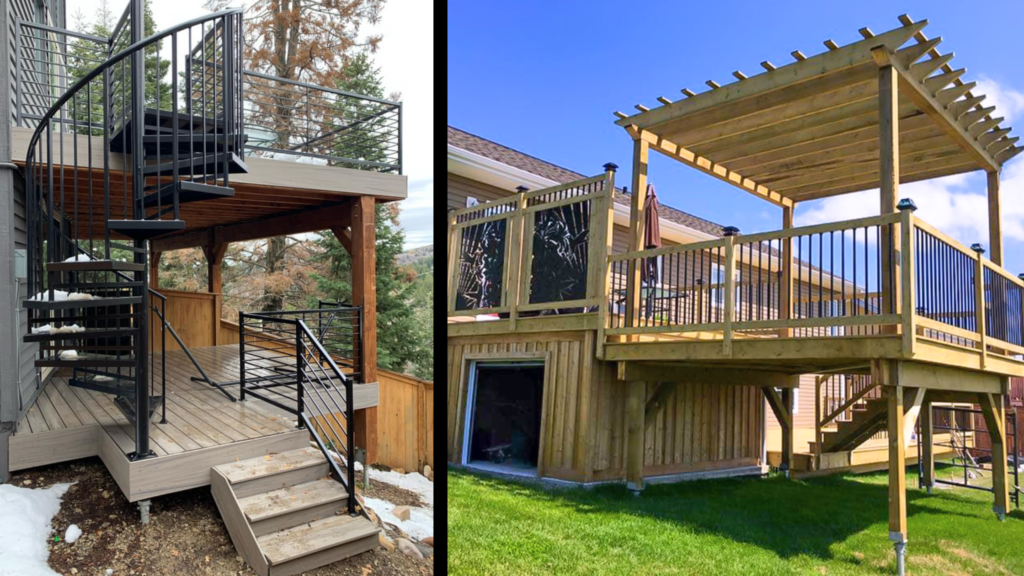
If your deck is elevated, stairs are necessary for easy access.
- Measure the total height of the deck and divide it by the desired step height to determine the number of steps needed.
- Use prefabricated stringers or build your own from treated wood.
- Attach the stringers to the deck structure and add the steps, fixing them securely to the stringers.
- Ensure the stairs are stable and comply with safety standards.
7. Finishing the Deck Construction
Sanding and Staining
Once the main structure is in place, it's time to sand the surfaces to remove splinters and imperfections.
- Use an electric sander to achieve a smooth and uniform surface.
- Then apply a stain or paint suitable for outdoor use to protect the wood against the elements.
- Choose a finish that complements your home and garden’s style.
- Let it dry completely before using the deck.
Installing Accessories
- Personalize your deck by adding accessories like lighting, patio furniture, and plants.
- Install recessed lights or string lights to create a warm ambiance in the evening.
- Choose comfortable and weather-resistant furniture.
- Add planters or flower pots for a touch of greenery and color.
- Consider practical elements like umbrellas or awnings to protect you from the sun.
8. Final Inspection of Your Deck Construction
Checking Stability
- Before declaring the project complete, carefully inspect every construction element.
- Ensure all fastenings are solid and the structure is stable.
- Walk on the entire deck surface to check for any movement or unusual noises.
- Test the railings and stairs to ensure they are secure and well-attached.
Compliance with Standards
- Finally, verify that the construction meets all safety standards and local regulations.
- This includes requirements for railing height, baluster spacing, and stair dimensions.
- If necessary, have your deck inspected by a professional or municipal inspector to ensure it complies with building codes.
Once these checks are done, your deck is ready to be used and enjoyed.
Conclusion
In conclusion, methodically following each step is essential for building a sturdy and durable wooden deck. We strongly encourage applying the provided tips to achieve a functional and aesthetically pleasing deck. For a solid and secure foundation, call on a GoliathTech professional. With their expertise in deck foundations, you can be assured that your project will be in good hands.
___________________________________________________________________________
*Refer to the Engineering Services page for more information.
About GoliathTech :
Do you work in the field of construction? For over 15 years, GoliathTech has integrated both strength and know-how to offer the best anchoring solution to support your residential and commercial projects. Our top-of-the-line helical screw piles are suited for any type of installation or application. Our installation services adapts to every soil type without causing any damage to the ground or structure. Trust the experience and expertise of GoliathTech for your construction projects. Find a screw pile installer in your region or become a franchisee
Share this Article


